How to Propagate a Fiddle Leaf Fig: Step-by-Step for Beginners

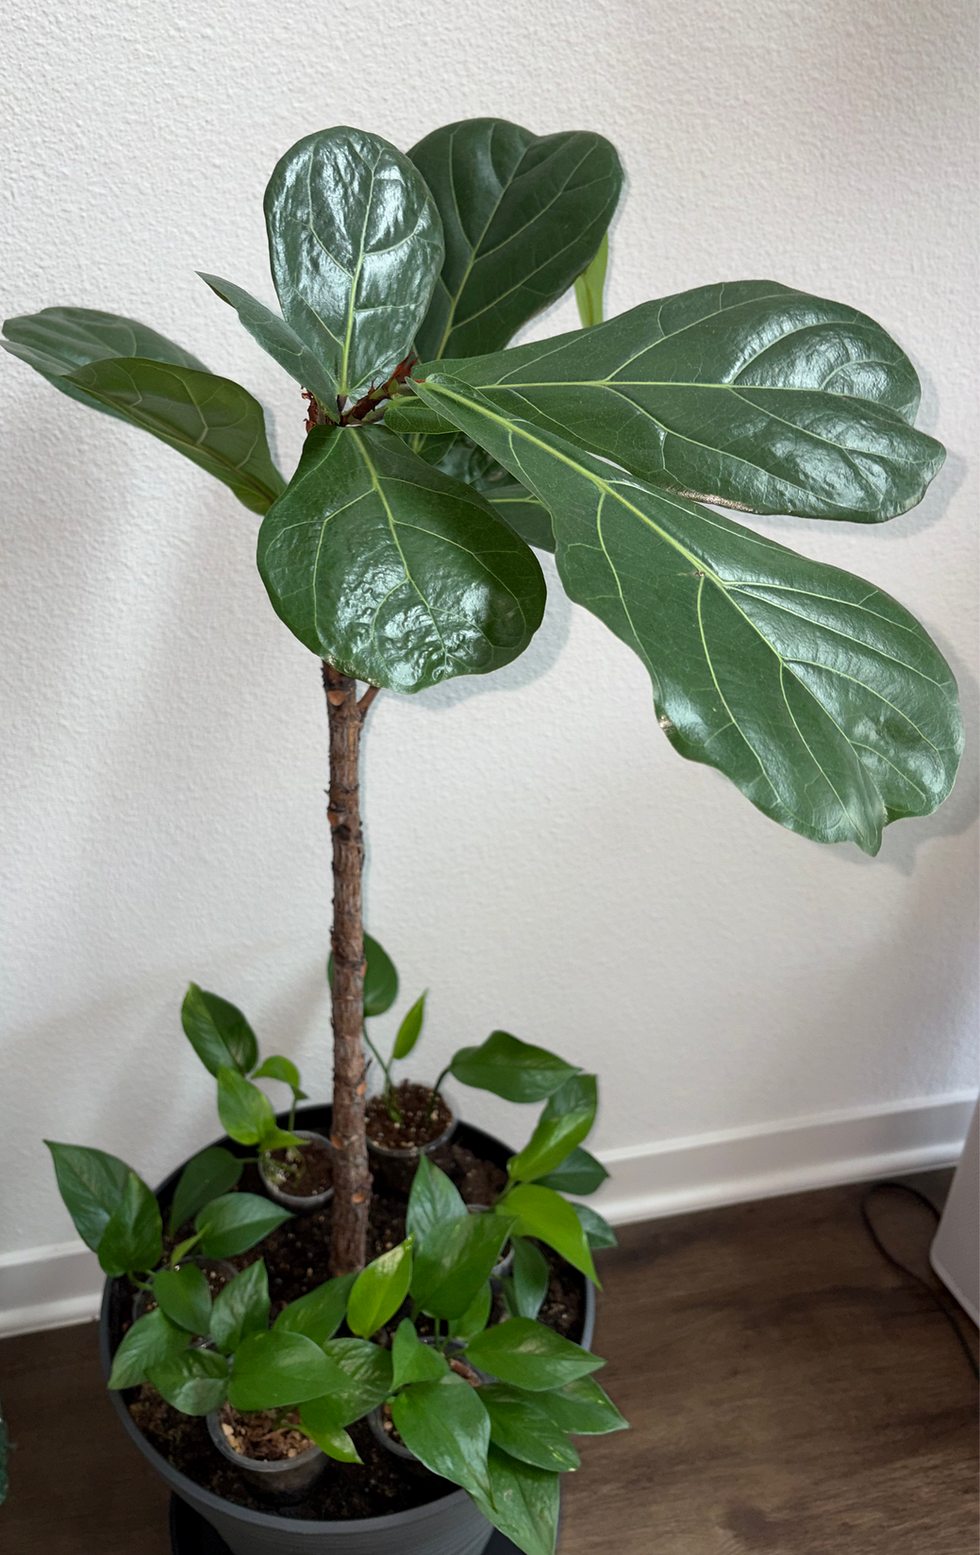
About a year ago, I decided to fully take over the care of my parents’ two fiddle leaf fig trees. One was dealing with pests, the other had been a bit neglected, and both needed some attention. With time, patience, and a lot of trial and error, they’ve grown into healthy, thriving plants.
Now that they’re finally in a good place, I wanted to propagate them and create new growth from something I've already brought back to life. Here’s how I did it.
Step 1: Where to Cut Your Fiddle Leaf Fig
You always want to cut just below a node. A node is the point on the stem where a leaf grows out. It might look like a small bump or ring on the stem, and it’s the only place where new roots can form.
When I was choosing where to cut, I made sure each section had:
at least one healthy leaf
and one visible node
Then I used clean, sharp shears and made a cut just below the node.
If you cut above a node or take a piece without one, it may look fine at first, but it won’t be able to root. That’s probably the most common mistake people make.
I also tried to avoid cutting super thick or woody parts of the plant. Slightly younger, green growth tends to root a lot easier and faster.

Step 2: Water vs. Soil — Choosing How to Propagate
I personally like starting in water, especially if it’s your first time, because you can actually see the roots forming. It makes the whole process feel a lot less like guessing.
If you’re using water:
Place your cutting in a glass or jar with clean water
Make sure the node is fully submerged, but keep the leaf out of the water
Put it in bright, indirect light
You’ll want to change the water every few days to keep it fresh and prevent any bacteria from building up.
If you prefer soil:
Use a light, well-draining mix
Keep the soil consistently moist (but not soaked)
Place it in bright, indirect light
Soil propagation can be great because the plant doesn’t need to adjust later, but it’s a little harder to track progress since you can’t see the roots forming, which is why I prefer to go with water when I am propagating a Fiddle Leaf.

Step 3: What to Expect + Timeline
Once your cutting is set up, the hardest part is honestly just waiting. Fiddle leaf figs don’t root overnight, so this step really comes down to patience and consistency.
If you’re propagating in water, you’ll usually start to see roots forming within 2–6 weeks. Sometimes it happens faster, sometimes it takes longer, it really depends on light, warmth, and the overall health of your cutting.
Once roots start forming, you’ll notice small white roots growing from the node. Over time, they’ll get longer and stronger. I like to wait until the roots are a few inches long before moving the cutting into soil.
If you’re propagating in soil, it’s a little less visible, so you have to trust the process more. As long as the plant looks stable and isn’t declining, it’s likely doing what it needs to do beneath the surface.
The biggest mistake here is giving up too early. Fiddle leaf figs can take their time, but once they start rooting, the growth is really rewarding to watch.
I’ll be updating this as my fiddle leaf fig continues to root and grow, so stay tuned to see how it turns out.

Comments